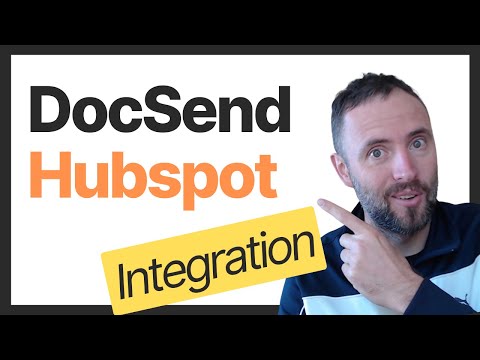
Are you looking for a seamless way to integrate DocSend with Hubspot? In this tutorial, we’ll show you how to build a custom integration using Zapier. This integration ensures that whenever someone views your documents in DocSend, it gets recorded in HubSpot at the contact level as a detailed note. Follow along as Andres from Connex walks you through the entire process.
Introduction to the Integration
Hi there! We specialize in helping businesses streamline their workflows through effective automation. If you need help automating your workflows, feel free to book a free discovery call with us using the link at the bottom. Now, let's dive into how you can automate this workflow using Zapier.
Step-by-Step Process
Step 1: Setting Up the Trigger in Zapier
Open Zapier: Go to Zapier and log in. Click on “Create Zaps.”
Configure the Trigger: Search for DocSend and select it as the trigger app. The event you'll select is "New Visit."
Login to DocSend: Connect your DocSend account. You can choose to trigger off a specific document or leave it empty to trigger for all documents.
Test the Trigger: Zapier will pull an existing record from DocSend to understand the fields associated with this trigger.
Search for HubSpot: Select HubSpot as the action app.
Configure the Action: The event will be "Find Contact." Use the visitor’s email from DocSend to search for the contact in HubSpot.
Create a Contact if Not Found: Enable the option to create a contact if it’s not found. This ensures you can track all document views, even if the recipient is not already in your database.
Test the Step: Verify that Zapier can find or create a contact in HubSpot.
Step 3: Creating a Note in HubSpot
Add a New Step: Select "Create Engagement" as the event.
Configure the Note: Choose "Note" as the engagement type. In the note body, include details such as the document name, campaign name, viewing time, and email.
Associate the Note with the Contact: Use the contact ID from the previous step to ensure the note is associated with the correct contact.
Test the Step: Check HubSpot to confirm that a note was created under the contact.
Step 4: Finalizing and Publishing the Zap
Rename the Zap: Give your Zap a meaningful name so you can easily identify it later.
Publish the Zap: Once everything is set up and tested, publish your Zap to start automating your workflow.
Learn how to sync InvestNext webhooks into HubSpot via Zapier (or Make) with event mapping, object modeling, idempotency, retries, logging, and monitoring to prevent duplicates.