Harvest project setup for Hive clients (time tracking)
Set up one Harvest project per Hive client, assign consultants, and set billable rates so time tracking works and every engagement shows up on timesheets.
If a client you manage in Hive exists in Harvest as a Client but not a Project, your team has nowhere to log time. The right Harvest project setup for Hive clients is simple: create one Harvest project per client, set the billable rate, and auto-assign the right consultants so every new project shows up on their timesheets.
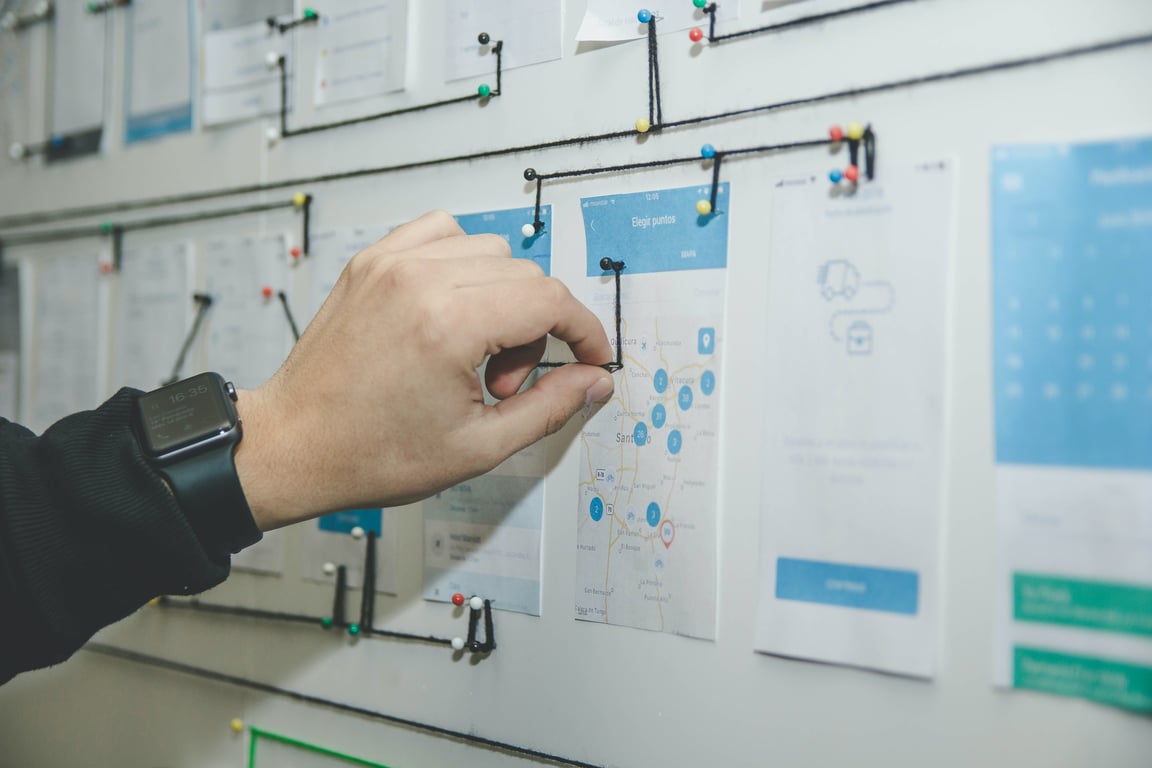
Harvest project setup for Hive clients starts with a plan. Photo by Walls.io on Unsplash
Why Hive clients need Harvest projects (not just clients)
In Harvest, a Client is mainly an umbrella for reporting and organization. A Project is what people actually track time against. If you only create a client record (and skip the project), teammates will see “nothing to track” or a limited project list when they start a timer.
This comes up often for teams that run delivery in Hive and use Harvest as the source of truth for billable time and invoicing.
The recommended Harvest project setup for Hive clients
A practical default for service teams is:
Client: the customer/company name
Project: the specific engagement under that client (often one active retainer at a time)
Task types: the categories you want to report on (implementation, support, strategy, etc.)
If you do recurring work for the same client (or you want reporting by month/quarter), you can create multiple projects under the same client later. Start with one.
Step-by-step: create a new Harvest project for a Hive client
1) Confirm the client exists in Harvest
In Harvest, go to Manage → Clients.
Search for the Hive client name.
If it doesn’t exist, create the client first.
2) Create the project under that client
Go to the Projects section.
Click New project.
Choose the correct Client.
Name the project in a way your team will recognize (for example: Acme Co – Implementation Q3).
Choose the project type. Time & Materials is typical for hourly, time-tracking-first teams; Fixed Fee and Non-Billable are the other options (as of October 2026, check Harvest's help center for current options).
3) Set the billable rate the right way (and keep it consistent)
Harvest supports multiple billable-rate strategies (project, person, or task rates). For many teams, a single project billable rate is the simplest place to start.
If your rate is standardized across the team, set it at the project level.
If different teammates bill at different rates, use person billable rates, but keep the early setup simple unless you truly need the complexity.
4) Assign the delivery team to the project (so it shows up for time tracking)
A project won’t appear for someone unless they’re assigned to it.
Open the project.
Add the teammate(s) who should track time on it (employees and contractors).
Double-check they can see the project when starting a timer.
5) Auto-assign key consultants to all future projects
If the same consultants should be on every client engagement (common in small delivery teams), set them to auto-join new projects. This prevents the “why can’t I see the project?” issue from repeating each time a new Hive client starts.
In Harvest, go to Team, open the teammate's Edit screen, choose Assigned projects, select Assign to all projects, and check Also assign to all future projects(as of October 2026, per Harvest's help center).
Common gotchas (and how to avoid them)
“I can see the client, but there are no projects”
That's the core issue. Create the project under the client, then assign people.
“Only admins can set rates”
Rate visibility and editing are permission-controlled in Harvest. If a teammate can't edit rates, have an Administrator set the rate once when the project is created.
“The project exists, but a contractor can’t see it”
This is almost always an assignment issue:
The contractor isn’t assigned to the project, or
The contractor has access restrictions that prevent tracking to certain projects.
Create exactly one new project under that client (you can split later if needed).
Set the billable rate.
Assign the delivery team.
Confirm the project is visible in timesheets/timers for at least one non-admin user.
Get help connecting Hive and Harvest
Getting the Harvest project setup right for Hive clients is one piece of a bigger system: time tracking, billing, and project delivery all need to stay in sync. Connex builds and automates these workflows for service teams. Book a free call with a Connex consultant and we'll map out the setup with you.
Build a Notion operations system to replace Asana and spreadsheets: six connected databases, field report forms, rollups, and campaign views your team will use.
Unify tasks in Notion from Basecamp, Gmail, and Slack with one Tasks database, linked views, and automated intake. See the schema, views, and Zaps to use.