How to Build a Unified Unsubscribe Page Across Brevo + TinyEmail
Set up one unsubscribe URL that removes contacts from Brevo, TinyEmail, and every ESP you use — with Zapier orchestrating the opt-out flow automatically.
Goal: One canonical unsubscribe URL (e.g., /unsubscribe) that removes a subscriber from every ESP you send from — even if your lists live in multiple tools.
The unified unsubscribe problem: your opt-outs aren't sticking everywhere
If you send marketing emails from more than one email service provider (ESP), a subscriber can unsubscribe from one list and still get emails from another tool.
That’s not just annoying. It can drive spam complaints, damage deliverability, and create compliance risk.
A “unified unsubscribe” setup solves this by routing all unsubscribe requests through one link, then fanning out the opt-out to every ESP you use.
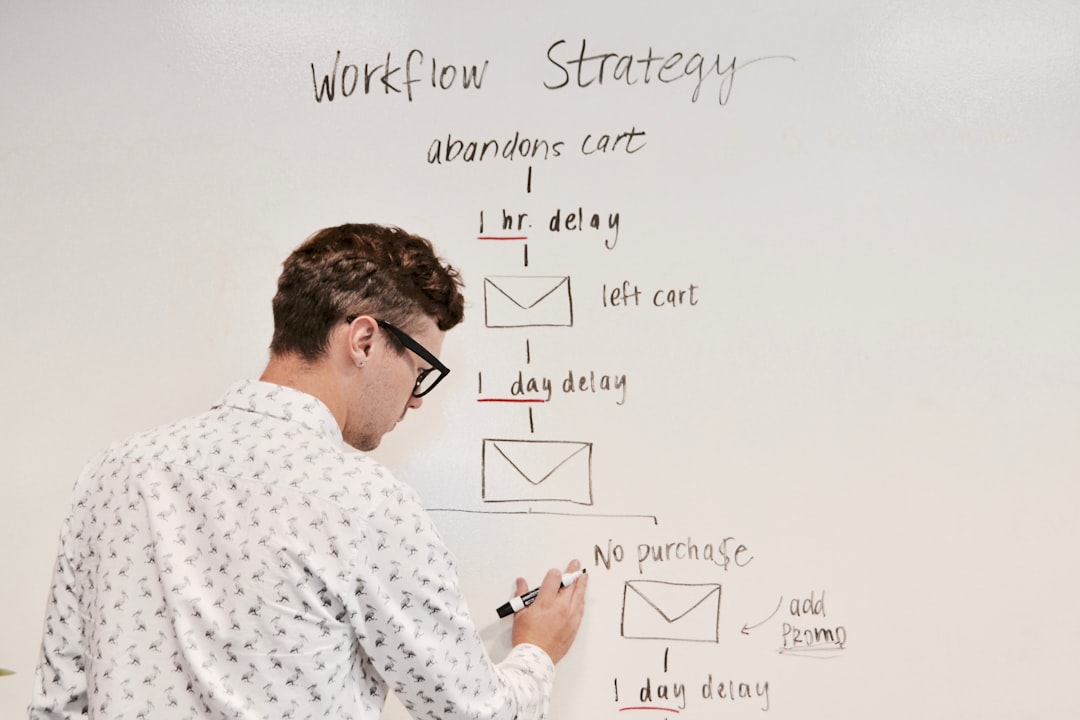
Email marketing automation workflow planning on whiteboard — Photo by Campaign Creators on Unsplash
What you’ll build (high-level)
You’ll set up:
A single unsubscribe page on your site (example: /unsubscribe)
A form that captures an email address (ideally prefilled from the email footer)
A multi-step automation (built in Zapier) that attempts to unsubscribe that email in each ESP
Brevo (formerly Sendinblue)
TinyEmail
Any other ESPs you add later
A confirmation page (“You’ve been unsubscribed”) that sets expectations (e.g., “processed within 24 hours”)
Step 1: Create one canonical unsubscribe URL
Create a simple page on your website, such as:
https://yourdomain.com/unsubscribe
Keep it barebones:
Headline: “Unsubscribe”
One input: Email address
One button: “Unsubscribe me”
A short note: “This will unsubscribe you from all our email lists.”
Step 2: Prefill the email address from each ESP (when possible)
The smoothest user experience is when the email address is already populated.
Most ESPs support merge tags that can be appended as a query parameter.
If an ESP doesn’t support merge tags in your footer, the fallback is letting the user type their address.
Step 3: Trigger one automation from that form submission
Use Zapier to orchestrate the “unsubscribe everywhere” workflow.
At minimum, your Zap should:
Receive the submitted email address
Normalize the email (trim spaces, lowercase)
Run unsubscribe actions for each ESP
Log the event somewhere (optional but recommended)
Return a success confirmation
Step 4: Unsubscribe the email in Brevo
Brevo supports removing a contact from specific lists via API.
Implementation options:
Use a native Zapier action if it supports the exact unsubscribe behavior you want
Otherwise, use a Webhooks-by-Zapier step to call Brevo’s API
Practical approach:
Maintain a list of Brevo list IDs you use for sending.
For each list ID, attempt a “remove contact from list” action.
If the contact is not found in a list, treat that as a non-fatal outcome.
Gotcha to plan for:
Some Brevo configurations enforce API access IP allowlisting, which can cause "invalid API key" or authorization errors until configured.
Step 5: Unsubscribe the email in TinyEmail
TinyEmail commonly organizes subscribers by audience.
That means you may need to run an unsubscribe action per audience, not just once.
Practical approach:
Export or document the active audience names/IDs you send to.
Add one TinyEmail unsubscribe step per audience.
Gotcha to plan for:
If your audiences change frequently, you’ll need a process to update your Zap when a new audience is created.
Step 6: Add guardrails so the workflow is reliable
A unified unsubscribe only works if it keeps working over time.
Recommended guardrails:
Idempotency: if someone clicks twice, the second run shouldn’t fail.
Error handling: continue even if one ESP step errors; log failures for follow-up.
Delay windows: if an ESP sync is eventually consistent, add a short delay before confirming.
Audit trail: store unsubscribes in a lightweight table (even a Google Sheet) so you can prove opt-outs were honored.
Step 7: Update every footer to point to the same unsubscribe URL
In each ESP you use, add a “unsubscribe everywhere” link that points to your canonical page.
Even if the ESP also includes its own native unsubscribe link, you can add a second link above it, like:
“To unsubscribe from all our lists, click here.”
FAQs
Does this replace the built-in unsubscribe link?
Not always. Some ESPs require their built-in footer unsubscribe link.
This setup is best used as an additional, clearer “unsubscribe everywhere” link.
How fast do I need to honor unsubscribes?
Many compliance regimes require prompt processing (often within days). A workflow like this can process immediately, but you can also set expectations (e.g., “within 24 hours”) if some tools are slower.
Ready to Build Your Unified Unsubscribe Flow?
Setting up a unified unsubscribe across multiple ESPs involves API configuration, Zapier orchestration, and ongoing maintenance when your list structure changes. If you'd rather have this built correctly the first time — with proper error handling, idempotency, and an audit trail — we can help. Book a free discovery call to walk through your current ESP setup and map out the right approach.
Design a nonprofit donation workflow with HubSpot, Zapier and QuickBooks Online: prevent duplicate revenue, handle soft credits, and reconcile payouts.
Pipedream shutdown? Use this migration playbook to inventory workflows, manage risk, and move to n8n or Windmill with pricing, compliance, and rollout steps.
A 49-second video and written steps for finding your Notion workspace ID. Log in, click your workspace name, open Settings, then Identity, and copy the ID.