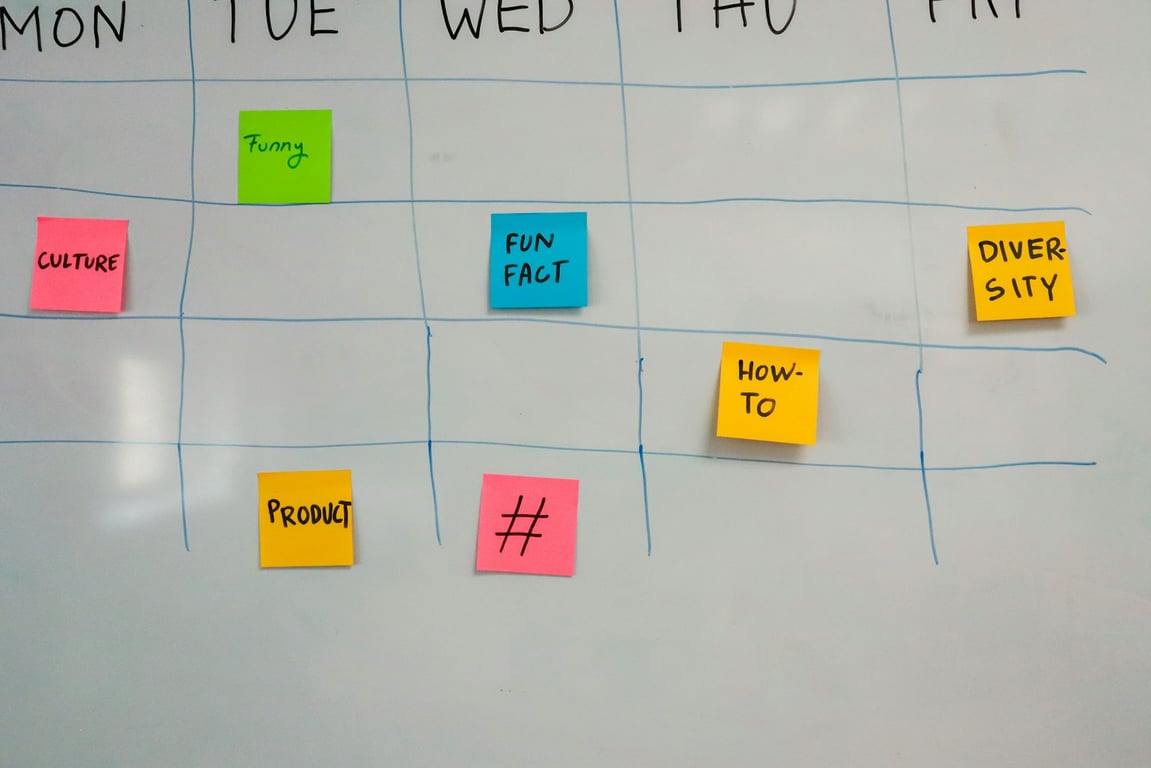
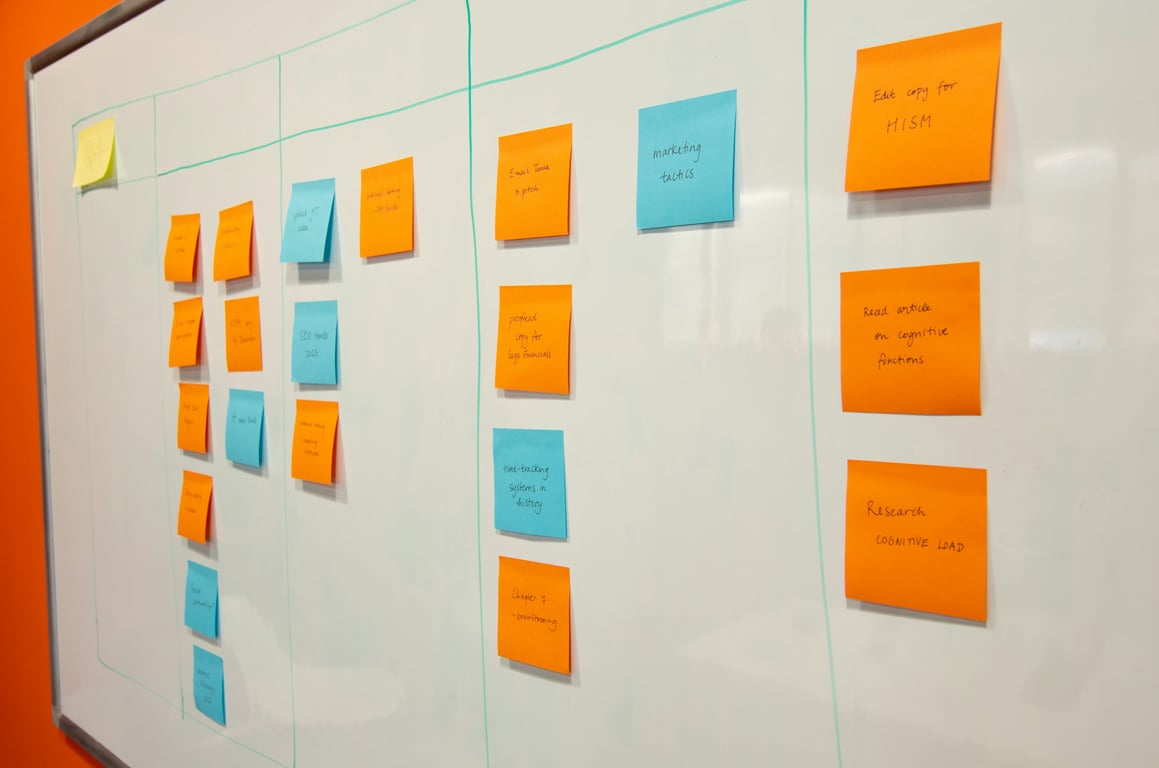
If you’re moving a small clinic from Trello to Notion, start by setting up two teamspaces (Clinic Ops and Content), convert your Trello lists into a simple “Content Calendar” database (with Status, Platform, Publish date, and Owner), and pilot it with two paid members before migrating the rest of the team.
Why most Trello → Notion migrations fail (and how to avoid it)
Most migrations go sideways for one of three reasons:
Permissions get messy (guests can’t see what they need).
The “calendar” becomes a spreadsheet nobody trusts.
Teams move everything at once and churn for a week.
The fix is to keep the first Notion build boring: a clean permission model + one database that replaces the Trello board you actually use every week.
Step 1: Map your Trello board to a Notion database (not a page)
Trello works great when your work is “cards moving across lists.” In Notion, that same workflow is strongest when each card becomes a database item (each row is its own page).
Trello list → Notion Status (recommended)
Start with a single Status property that mirrors your core Trello lists:
Not started
In progress
Scheduled
Published
You can tweak names later, but keep the first version close to what your team already recognizes.
Asset link (URL) — link to Canva/Drive folder if needed
Notes (Text) — short context; long drafts live in the item page body
Optional (add later)
Content pillar (Select)
Review needed (Checkbox)
Approval (Select)
Step 3: Add the 3 views that replace Trello and give you a calendar
One database, multiple views is where Notion shines compared to a single-board workflow.
View A: Board (your Trello replacement)
View type: Board
Group by: Status
Card shows: Platform + Publish date (optional)
View B: Calendar (for scheduling)
View type: Calendar
Calendar by: Publish date
Filter: Status is not “Published” (optional)
View C: Table (for quick edits + bulk updates)
View type: Table
Sort: Publish date ascending
Useful for assigning Owners fast
Step 4: Set permissions the “Notion way” (guest vs member)
This is the part most teams underestimate.
The rule of thumb
Use Members for people who need to work inside a teamspace (edit and navigate freely).
Use Guests only when you’re comfortable sharing individual pages one-by-one.
If you want a social media manager to see the whole Content Calendar and click into items, that person should be a member. Guests are best for “view this one page” situations.
Step 5: Run a 2-person pilot before migrating the entire clinic
For a small clinic, the fastest safe rollout is a two-member pilot:
Create the Content Calendar.
Add 10–20 real items (don’t migrate everything).
Run it for two weeks with your social media lead + one admin/ops person.
Only then migrate remaining Trello boards (if you still need them).
This approach keeps the move low-drama and gives you a clean baseline before adding extra workflows.
Step 6: Migration checklist (copy/paste)
Create teamspaces (e.g., Clinic Ops, Social Media)
Create Content Calendar database in the Social Media teamspace
Add properties: Status, Platform, Publish date, Owner, Asset link
Create 3 views: Board, Calendar, Table
Add 10–20 current items (no historical backlog)
Invite 2 members and set teamspace permissions
Run the pilot for 2 weeks and adjust only what’s painful
Migrate the rest of the Trello boards (only if still needed)
Tools: Trello vs Notion (what changes for your team)
If your team is used to working in Trello, the biggest change is that Notion “cards” can hold much richer context (files, checklists, drafts) without linking out to multiple tools.
A simple way to frame it:
Trello = great for moving tasks
Notion = great for tasks + the content inside the tasks
Get help setting up your Notion content calendar
Ready to set up your teamspaces, permissions, and a working content calendar in one session? book a free consulting call with Connex — we build and configure Notion workspaces for small clinics and service teams every week.
Photo by Marvin Meyer on Unsplash — small team working with digital planning tools
Build a practical Cognito to Notion CRM integration with Zapier, CSV migration, Gmail filtering, and views that keep quotes, owners, and follow-ups organized.
Learn how to use Claude to design a practical scheduling assistant for a service business: data model, daily updates, dispatch workflow, and rollout steps.