Salesforce to Airtable migration: CRM + production tracking playbook
A practical Salesforce to Airtable migration plan for CRM and production tracking: object audit, table mapping, status logs, dashboards, and permissions.
If you’re planning a Salesforce to Airtable migration for your CRM, don’t start by recreating every Salesforce object and automation 1:1. Start by deciding what Airtable needs to do for your team each day: what gets created, what moves forward, what’s overdue, and what someone needs to see at a glance.
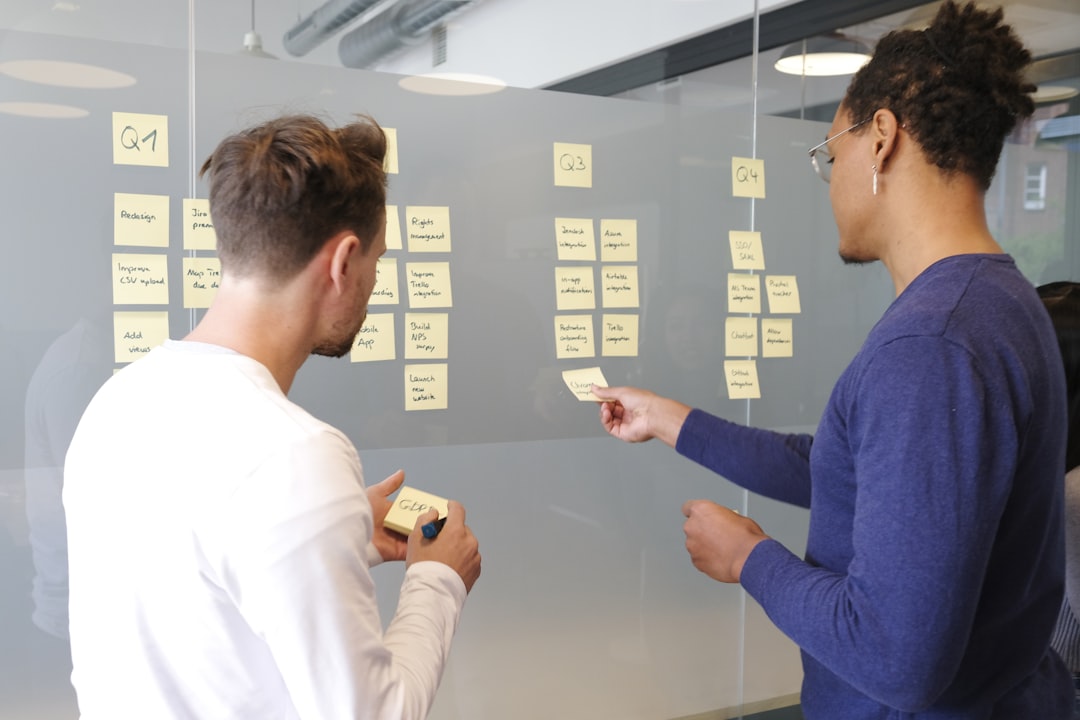
Salesforce to Airtable migration CRM planning session. Photo by airfocus on Unsplash
Below is a practical migration playbook you can use to replace a Salesforce-style CRM with an Airtable base that also supports production tracking.
The Salesforce to Airtable migration goal (what “done” looks like)
A successful move from Salesforce to Airtable usually means:
Your team can capture leads and projects without duplicate entry.
Records follow a mostly-linear status flow, but can move backward without breaking automations.
You have a “today” dashboard plus views for overdue, missing dates, and unassigned work.
You can answer audit questions like “what moved into Final Walkthrough on Aug 26?” via status-change history.
Stakeholders can view progress in read-only dashboards without needing edit access.
Step 1: Audit your Salesforce objects before you design anything
Before you touch Airtable, inventory what exists in Salesforce.
Projects / Jobs (the unit of work you track to completion)
Tasks / Milestones (optional; only if your process truly needs it)
Activity / Notes (optional)
Status Change Log (highly recommended — explained below)
Avoid creating a table for every Salesforce object “just because it exists.” If a table won’t be used by a human, it likely doesn’t need to be its own table yet.
Step 3: Design a status flow that can go forward and backward
Many production-style processes are mostly linear (A → B → C → D), but reality includes rework.
In Airtable, build statuses so you can:
Move a record backward to fix issues.
Re-trigger automations when the record re-enters a stage.
Track time-in-stage and overall cycle time.
Practical tips:
Use a single Status field on the main table (Projects/Jobs).
Put “sub-status” complexity in separate fields only if it changes reporting decisions.
Decide which status transitions should send notifications, create tasks, or require approvals.
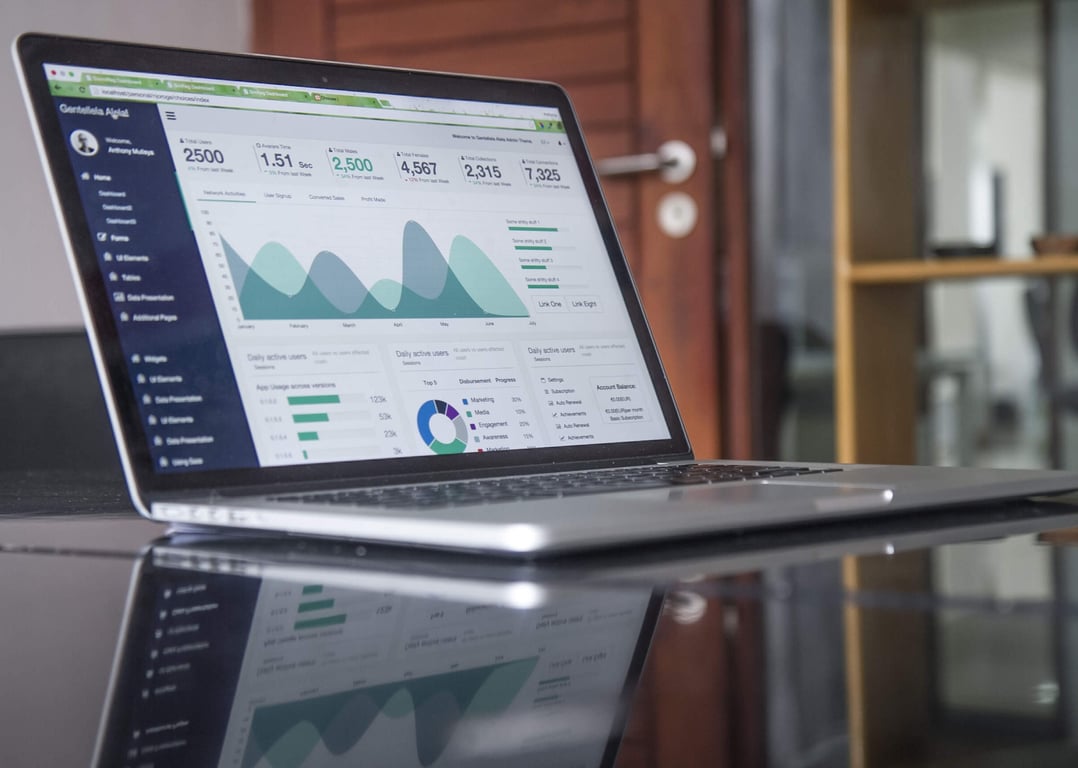
Step 4: Create a daily dashboard that shows “what’s happening today”
Most teams don’t need more fields — they need better visibility.
Build a dashboard (or dashboard-like interface) that includes:
Due today / scheduled today (walkthroughs, clearances, inspections, etc.)
Overdue items (not completed, date has passed)
Missing dates (can’t be scheduled because a date is blank)
Unassigned work (no owner)
This is the fastest way to replace the “daily production grid” feeling inside Airtable.
Step 5: Add status-change history with a log table (so reporting doesn’t get weird)
A common Salesforce pain: you can see a record’s current status, but unless field history tracking is turned on and someone has built reports on it, it’s hard to report when a record entered a prior status once it moved on.
In Airtable, you can solve this cleanly with a Status Change Log table.
How it works:
When a record’s Status changes, an automation writes a new log row.
That log row stores:
The record link (back to the Project/Job)
The new status value
A timestamp
(Optional) who made the change
Now you can answer questions like:
“What moved into Final Walkthrough on Aug 26?”
“How many items entered Clearance last week?”
“What’s our average time between Submitted → Approved?”
Step 6: Track velocity (cycle time + time-in-stage) without manual date entry
If you want cycle time reporting, avoid relying on humans to fill extra date fields.
Instead:
Use the status-change log timestamps to calculate time-in-stage.
Use formulas/rollups to calculate total cycle time from the first key stage to completion.
This keeps the system accurate even when the team is moving fast.
Step 7: Handle documents and attachments intentionally
If your process involves documents (PDFs, images, spreadsheets), Airtable can store attachments directly on records.
Best practices:
Keep “current” documents on the main record (Project/Job).
If you have multiple versions, store them in a related table (Documents) with date, type, and notes.
Decide early which documents are internal-only vs. shareable.
Step 8: Add forms and e-signature without giving everyone Airtable seats
Two common needs in Salesforce-style workflows:
1) External intake (vendors, applicants, partners) without Airtable accounts
2) E-signature and document workflows
A common pattern is to use a form tool like Fillout as the external front-end and write submissions into Airtable.
For signing workflows, a typical setup is:
A checkbox or status change triggers an automation.
The automation sends a signing link.
The signed PDF and timestamp are written back onto the Airtable record.
Step 9: Get permissions and stakeholder access right (especially funders)
You’ll usually have at least three access levels:
Builders/admins: can edit structure, fields, automations.
Operators: can update statuses and data they own.
Stakeholders: should be read-only (dashboards, filtered views).
If you need funders or partners to check progress, aim for read-only dashboards that they can refresh without being able to edit underlying records.
Step 10: Roll out in phases (start with the most complex workflow)
Airtable works best when you ship iteratively.
The rollout order we recommend:
Start with the most complex workflow (often lead intake + early-stage work).
Confirm the daily dashboard matches how the team runs the day.
Add logging and velocity reporting once the core flow is stable.
Expand to additional departments/functions after the first workflow is running smoothly.
Common migration pitfalls to avoid
Copying Salesforce object structure without questioning it.
Building too many tables “for completeness.”
Making a perfect schema before anyone has used the base.
Relying on manual date entry for reporting.
Skipping a status-change log and later trying to reconstruct history.
Get help with your Salesforce to Airtable migration
If you want a second set of eyes on your Salesforce → Airtable migration plan — especially the status flow, dashboard views, and reporting — we can help you scope it and implement it step by step.
Automate monthly Salesforce exports from S3 + Google Sheets: pull daily files from S3, calculate member status in Sheets, and generate a weekly CSV in Drive.
Migrate Make.com scenarios to n8n without breaking production. Use this audit + PRD checklist to inventory modules, credentials, errors, and rebuild safely.