Scheduling form automation: Google Calendar + Trello + QuickBooks
Build a scheduling form that creates Google Calendar events, Trello cards, and QuickBooks customers automatically, capturing customer info once, not 3 times.
If you’re scheduling appointments by typing customer details into a calendar event, you’re building your process on unstructured text. A simple scheduling form can capture customer info once, then automatically create the appointment in Google Calendar, open the work in Trello, and create or update the customer record in QuickBooks.
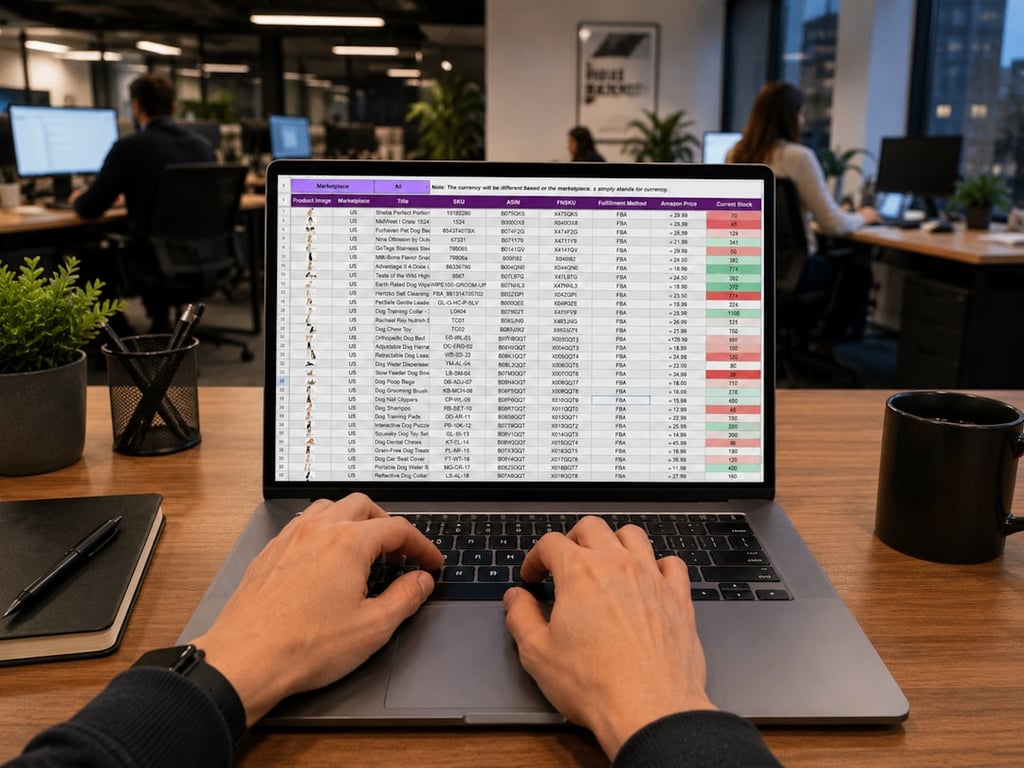
Scheduling form automation starts with one clean intake list. Photo by Markus Winkler on Unsplash
Why a scheduling form beats “just use the calendar”
Google Calendar is excellent at time blocks, but it’s not designed to store clean operational data like first name, last name, service address, and phone number. That matters because automations work best when the inputs are consistent.
A scheduling form gives you:
Structured fields (no guessing what’s in the notes)
Validation (required fields, formatting rules)
A predictable trigger for your automation
The ability to embed availability so staff can schedule without switching tabs
The target workflow (intake → scheduling → execution → billing)
Here’s the full workflow:
Admin submits a scheduling form with customer and appointment details.
Automation creates a Google Calendar event.
Automation creates a Trello card for the job and attaches the intake details.
Automation creates or updates the customer (and optionally a job/project) in QuickBooks.
Optional: if your quoting tool supports it, push the same customer details there too.
Step 1: Design the scheduling form (the source of truth)
Start by defining the minimum set of fields you need to run the job without re-contacting the customer.
Recommended fields
Customer name
Email
Phone
Service address
Appointment type (estimate, install, follow-up)
Assigned salesperson / tech (dropdown)
Notes (optional)
Keep IDs stable
If your form tool supports it, store a unique submission ID. If not, generate one in automation. That ID becomes the anchor you use to prevent duplicates across your downstream tools.
Step 2: Create the Google Calendar event (and make it update-safe)
Create the event in Google Calendar with the right title and description format.
What to put in the event
Event title: customer name + appointment type
Description: phone, address, and the submission ID
Location: service address
Prevent duplicates (critical)
The safe pattern is:
Search for an existing event using the submission ID
If found, update it
If not found, create it
This is where tools like Zapier and Make are useful because they support search-before-create and multi-step logic.
Step 3: Create a Trello card that mirrors the job pipeline
Once the appointment is on the calendar, create a card in Trello so the work has a home for checklists, attachments, and handoffs.
Card structure
Card title: customer name + job type
Description: paste the key form fields (address, phone, appointment details)
Labels: appointment type or priority
Checklist: your standard job checklist
Link the calendar event
Add the Google Calendar event link to the Trello card so anyone can jump to the appointment details quickly.
Step 4: Create or update the customer in QuickBooks
Next, sync the same customer data into QuickBooks so billing starts from accurate, consistent records.
Matching rules to avoid duplicates
Decide in advance how you’ll match customers. A common approach is:
First match on email (if present)
Otherwise match on phone
Otherwise fall back to name + address
Your automation should search first, then update the existing record when it finds a match.
Step 5 (optional): Handle the quoting tool without breaking the system
Some industries rely on specialized quoting tools. If yours has an API, push the customer details in automatically. If it doesn’t, keep the workflow clean:
Treat quoting as a manual step
Attach the quote PDF or screenshots to the Trello card
Keep calendar + Trello + QuickBooks as the reliable automation backbone
Common pitfalls (and how to avoid them)
Mixing sources of truth
If staff sometimes schedule directly in Google Calendar and sometimes via the form, your automations will drift. Pick one intake path and standardize it.
Not storing a unique identifier
Without an ID, you’ll eventually create duplicate Trello cards or QuickBooks customers. Use an intake ID and carry it everywhere.
Over-automating too early
Start with the core flow (calendar + Trello + QuickBooks). Add optional integrations only after the team is using the system consistently.
Final checklist: what “done” looks like
Form is the only scheduling entry point
Every submission creates or updates one calendar event
Every appointment has exactly one Trello card
Every customer is created or updated in QuickBooks without duplicates
The intake ID is visible in each system for traceability
Get help building your scheduling form automation
Most scheduling automations break on duplicates: a rescheduled appointment spawns a second Trello card, or a returning customer becomes two QuickBooks records. We build this search-then-update pattern in Zapier and Make with clear matching rules, so every submission lands in each system exactly once. Book a free discovery call and bring your current form and field list.
Build a reliable Netlify form to QuickBooks invoice Zapier workflow. Trigger from Netlify form submissions (not email parsing) to prevent duplicate invoices.