AI Medical Receptionist for Appointment Scheduling (How to Cut Missed Calls)
Practical rollout plan for an AI medical receptionist for appointment scheduling to cut missed calls, shorten hold times, and reduce inbox overload at your practice.
If your practice is missing calls or patients are stuck on hold, an AI medical receptionist can answer every call immediately, capture appointment requests, and help your team schedule faster without replacing your human front desk.
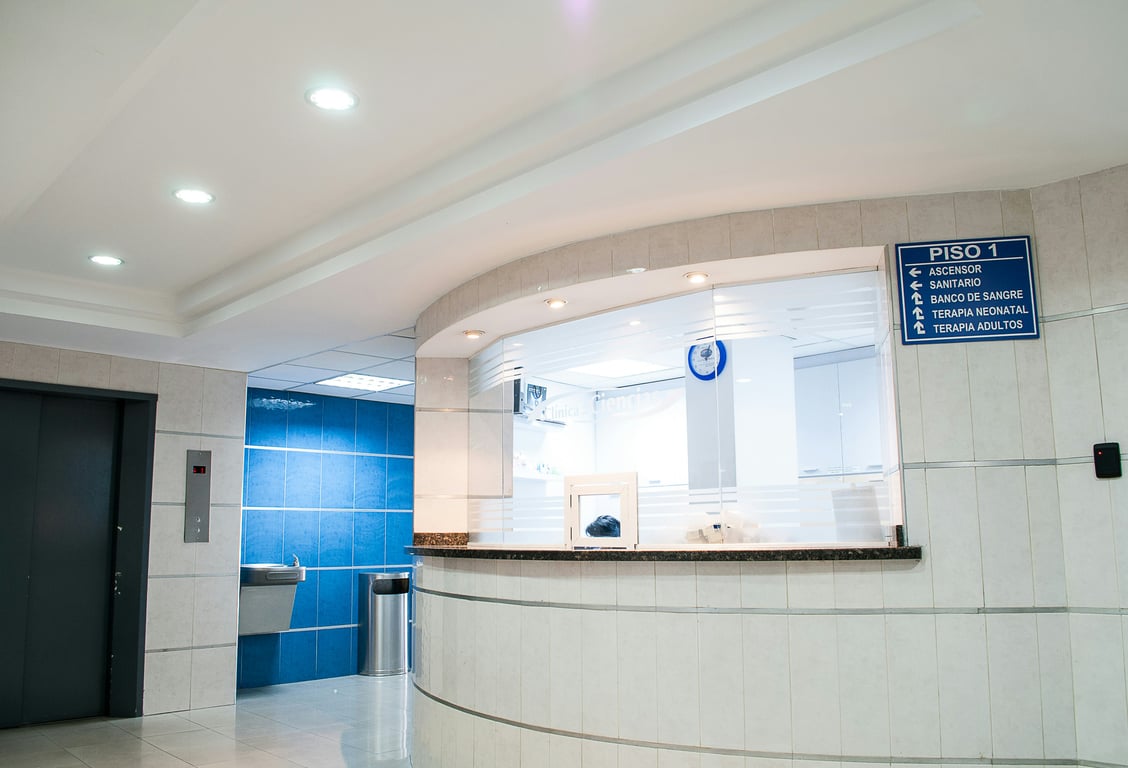
Photo by Martha Dominguez de Gouveia on Unsplash
✅
Quick win: Start by automating appointment scheduling, rescheduling, and cancellations first. In many practices, that is the single biggest driver of phone volume.
What is an AI medical receptionist (for scheduling)?
An AI medical receptionist is a HIPAA-aware virtual agent that answers patient calls (and sometimes web chat or text), then routes, records, or resolves the request.
For appointment scheduling, the AI receptionist typically:
Asks the right intake questions (visit type, preferred days/times, provider preferences)
Confirms the patient’s contact information
Either books the appointment directly (if scheduling can be automated)
Or captures structured details for your team to confirm and schedule quickly
Signs you need one (and what to measure first)
Before you buy anything, run a quick “front desk bottleneck” audit. Here are the metrics that matter most:
Unanswered call rate (calls that go to voicemail or drop)
Hold time distribution (for example, % of calls waiting more than 5, 10, or 20 minutes)
Monthly inbound call volume
Scheduling request share (how many calls are appointment-related)
Inbox overflow (how many scheduling emails or portal messages come in daily)
📊
If you can only track one thing this week, track appointment-related calls per day and how many convert to booked visits.
Step-by-step: rolling out an AI receptionist for appointment scheduling
Step 1: Define the Phase 1 scope (keep it tight)
Pick the top “high-volume, repeatable” call category first.
For most small practices, Phase 1 should include:
New patient appointment requests
Existing patient reschedules and cancellations
Basic FAQs (hours, location, what to bring)
Keep these out of scope at first:
Clinical symptom triage
Prescription refill workflows
Results communication
Step 2: Choose your integration path (two workable options)
There are two common ways to implement appointment scheduling automation:
Integrated scheduling (best when available)
AI checks availability and books appointments automatically.
Requires a real scheduling interface or API access.
Assisted scheduling (fastest to launch)
AI captures appointment details in a structured format.
Your team confirms a time slot and completes booking.
Still reduces phone load and the email back-and-forth immediately.
🧩
If your scheduling system cannot be automated cleanly yet, assisted scheduling is often the best Phase 1. It fixes patient experience first, then you deepen automation later.
Step 3: Build the “scheduling script” (what the AI should ask)
A good scheduling flow sounds human, but it is structured behind the scenes.
Include prompts for:
Patient name and best callback number
New vs. existing patient
Visit reason / appointment type
Preferred days and times
Urgency (routine vs. urgent)
Insurance “triage” question (optional)
Step 4: Decide your escalation rules (keep humans in the loop)
Your human front desk is still essential.
Common escalation rules:
Same-day urgent requests
Angry or distressed callers
Requests involving symptoms or medical advice
Anything outside the scheduling script
Step 5: Add guardrails for privacy and compliance
At minimum, your workflow should:
Avoid collecting unnecessary sensitive information
Use secure storage for transcripts and intake data
Limit staff access by role
Document a basic process for handling wrong-number calls or non-patient callers
A practical checklist for small practices
Use this checklist to keep implementation moving.
Baseline phone metrics (unanswered calls, hold times, monthly volume)
Identify top call type to automate (start with scheduling)
Pick integration path (integrated vs. assisted)
Write scheduling script + FAQ list
Define escalation rules and business-hour handling
Decide where structured requests will land (inbox, ticket, CRM, shared sheet)
Train staff on how to handle AI-captured scheduling requests
Launch with a limited set of call types, then expand
What results to expect (and how to prove ROI)
When you reduce missed calls and long holds, you typically see:
Fewer “phone tag” callbacks
Faster appointment booking
Fewer repetitive inbox threads
Better patient sentiment (fewer complaints about access)
To quantify ROI, track:
Number of appointment requests captured after hours
Missed calls avoided
Time saved per day on scheduling communications
Net new booked visits attributed to improved access
FAQs
Will this replace my front desk staff?
Not if you scope it correctly. The best outcomes happen when the AI handles the repetitive “first contact” scheduling requests and your team handles exceptions, patient relationships, and escalations.
What if my scheduling system cannot be automated?
Start with assisted scheduling. Patients still get immediate answers and a clear next step, and your team gets structured requests instead of voicemail and long email chains.
How long does it take to launch?
A Phase 1 scheduling flow typically launches within a few days once you have the script, escalation rules, and a clear place for requests to land.
Get help building your AI receptionist rollout
Setting up an AI medical receptionist for appointment scheduling usually breaks at the integration step — getting the AI to write structured requests into your scheduling system cleanly. If you've hit that point, book a ZoomFlow session and one of our consultants will build the working version with you live.
Ready to get started? Book a discovery call — no commitment, just a conversation about what your practice actually needs.
Set up an AI answering service that logs calls, captures lead details, and triggers CRM follow-ups with Zapier. Includes requirements and a starter build plan.
Learn how a market research firm automated 90+ weekly confirmation calls with an AI voice agent built on Twilio, 11 Labs, and Zapier. See the exact architecture.