A Notion intranet for a nonprofit is a single, permissioned “home base” where staff can find policies, forms, tool links, and onboarding steps in minutes. The fastest path is to start with a small admin group (e.g., 3 seats on Plus) to build the structure and permissions, then roll it out to the full team once the hub is proven and training is complete.
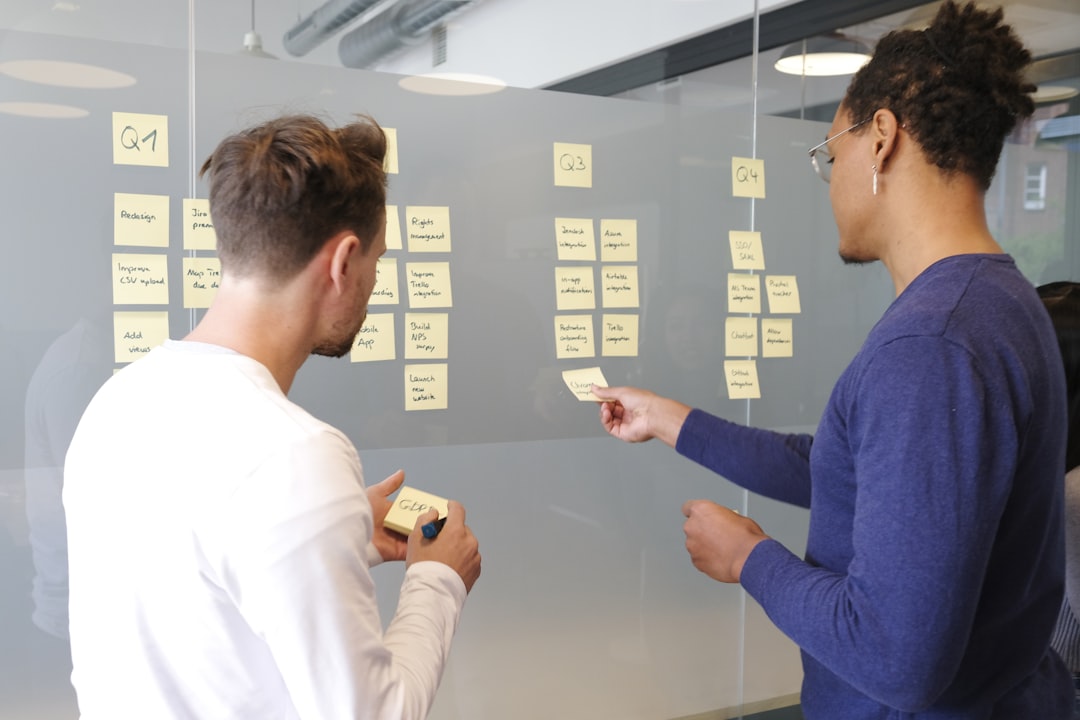
Photo by Annie Spratt on Unsplash
What a nonprofit "Notion intranet" actually is
A Notion intranet isn’t a separate product — it’s a structured Notion workspace that becomes the organization’s internal homepage. It typically includes:
A staff home page (the starting point)
A knowledge base (handbook, SOPs, benefits, HR/PEO, policies)
A “tool hub” (links to Slack, Gmail, Google Drive, calendars, time tracking, attendance tracking, etc.)
Onboarding checklists and role-based guides
Requests/intake forms (so work doesn’t live in inboxes)
Who this is for (and who it isn’t)
This approach is ideal if your nonprofit:
Has 20+ staff and lots of tools
Onboards regularly (or has seasonal/part-time staff)
Needs one place to point people instead of sending 10+ links
It may be a poor fit if you need highly regulated document retention and audit workflows without careful permissions design.
Step-by-step: build a Notion intranet that scales
1) Define the homepage experience (what staff sees first)
Create a single “Staff Home” page that answers four questions immediately:
Where do I go today?
What do I need to do this week?
Where are our policies and forms?
Where are our tools?
Recommended sections on the page:
Quick links (HR/PEO, time tracking, attendance tracking)
Tool hub (Slack, Gmail, Drive)
New here? (link to onboarding)
Departments / teams (links to team pages)
2) Design the navigation (3–7 top-level categories)
Keep the left sidebar simple. Typical categories:
Handbook & policies
People ops (HR, time off, benefits)
Programs & service delivery
Fundraising & communications
Operations & finance
IT & tools
Training & onboarding
3) Create a “Tool Hub” page (stop the link-sprawl)
4) Build onboarding as a reusable system (not a one-time document)
Instead of a long doc, create:
A general onboarding checklist (Week 1)
A role-specific checklist (e.g., Programs, Development, Ops)
A “how we work” guide (communication norms, approvals, where to ask questions)
Tip: keep onboarding pages short and link out to reference pages in your knowledge base.
5) Get permissions right early (or you’ll rebuild later)
At 65 people, permissions become the difference between “this is easy” and “this is chaos.”
Create a small admin group (2–5 people) who can edit structure
Separate sensitive areas (HR, finance) into clearly labeled sections
Use consistent patterns for who can view vs edit
6) Decide how you’ll handle Notion AI (and web search)
Notion AI can help staff find answers faster by searching your internal workspace content. If your organization has security concerns:
Keep AI limited to internal content
Have an admin disable AI web search at the workspace level if needed
The key concept: AI respects permissions — it can only surface what a person can already access.
7) Start small: build on a 3-seat plan, then roll out
A practical rollout plan for nonprofits:
Start with a small Plus plan (e.g., 3 seats) so your admins can build structure and test
Run recorded training + co-building sessions while you set up the intranet
Expand seats once the homepage, tool hub, and onboarding flows are stable
Launch to the full team with a simple “how to use the intranet” tour
Budgeting: what to plan for
Costs usually include:
Notion seats (priced per member)
Training/co-building time (so you don’t end up with an abandoned workspace)
Ongoing admin ownership (who maintains the intranet)
If you're eligible, Notion offers a 50% discount on the Plus plan through their Notion for Nonprofits program — apply directly at notion.com/nonprofits. Confirm any restrictions before upgrading.
Common pitfalls (and how to avoid them)
Too many top-level pages → keep navigation minimal
No ownership → assign owners per section (handbook, tool hub, onboarding)
Overbuilding before adoption → ship a “v1 intranet” quickly and iterate
Permissions bolted on later → design sensitive areas from day 1
Quick checklist: your v1 Notion intranet launch
Staff Home page exists and is easy to scan
Tool Hub page includes every core system and owner
Handbook/policies are findable and not duplicated
Onboarding checklist(s) are short and role-based
Permissions model is consistent
Training plan is scheduled
Get help building this
Building a Notion intranet for your nonprofit usually breaks at permissions design — what starts as a clean structure gets complicated fast once you're trying to separate HR, finance, and programs access across 65 people. If you've hit that wall, book a ZoomFlow session — one of our consultants can walk through your workspace structure with you live and help you get the permissions and onboarding flows working in a single call.